5 Creative DIY Ideas for Transforming Your Bathroom Mirror
If you’re looking to give your bathroom a fresh twist, transforming your bathroom mirror can make a significant impact. You could frame it for a more polished look, add some color with decorative painting, or even create a vibrant mosaic. LED lighting could change the feel of the space dramatically, while etching intricate designs offers a timeless elegance. These ideas can enhance your bathroom style, but which one will suit your space best? Let’s examine these creative options further to help you find the ideal transformation for your mirror.
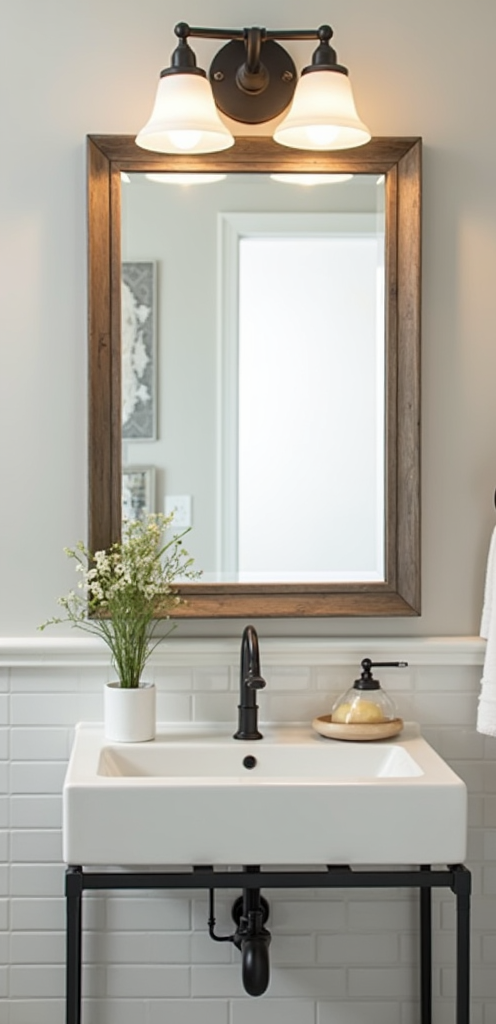
Frame Installation Techniques
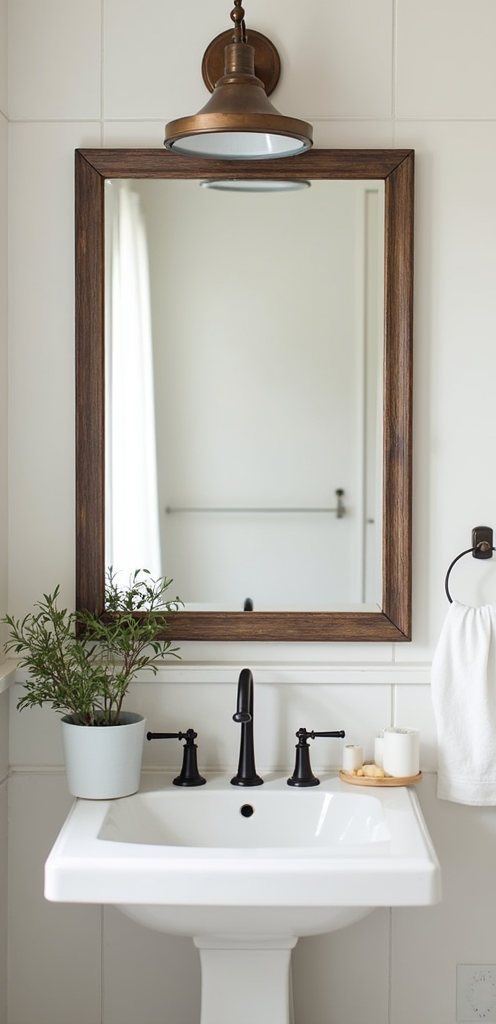
In regard to enhancing your bathroom mirror, the right frame can make all the difference. To install a frame, start by measuring your mirror’s dimensions. You’ll want a frame that matches these measurements closely.
Next, gather your tools: a level, adhesive, and a saw (if you’re cutting wood).
Line the back of the frame with adhesive. Make certain to apply it evenly for a secure hold. Hold the frame against the mirror, using the level to verify it’s straight. Press firmly and let it set according to the adhesive instructions.
If you’re using a wooden frame, consider adding corner brackets for added stability. Finally, step back and admire your handiwork; the new frame will enhance your bathroom’s look instantly.
Decorative Painting Ideas
While you might think a mirror simply reflects, adding a splash of color or artistic flair can transform it into a statement piece in your bathroom.
Start by choosing a paint that’s suitable for glass or mirror surfaces. Acrylic paint works well, as it adheres nicely and comes in various colors.
Consider using painter’s tape to create designs like stripes or geometric shapes. Once you’ve marked your design, apply the paint with a small brush or sponge.
Allow it to dry completely, following the manufacturer’s instructions. For a more unique touch, try stenciling a pattern or even freehand painting.
Finally, seal your artwork with a clear acrylic sealer to guarantee it stands up against moisture. Enjoy your newly improved mirror!
Mosaic Tiling Concepts
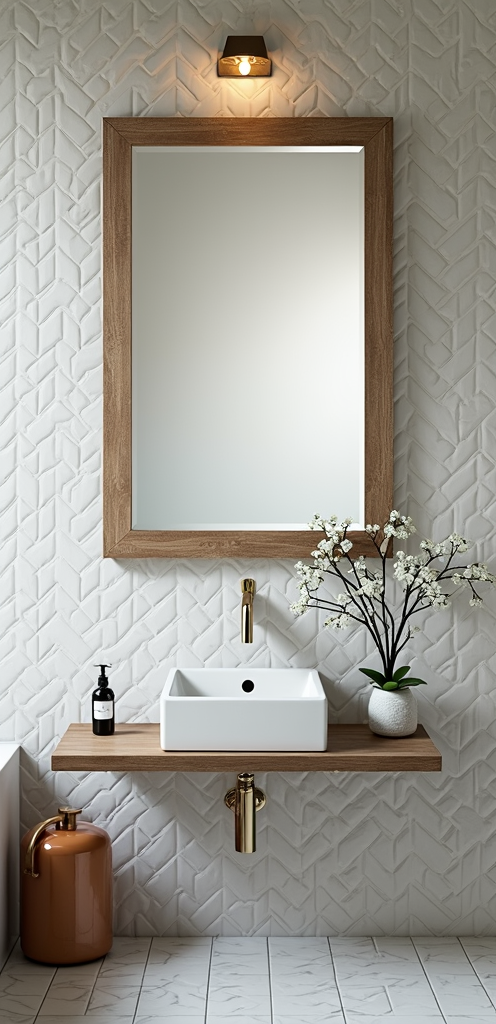
Adding mosaic tiles around your bathroom mirror can improve its design and create a stunning visual effect. First, choose your tile colors and materials. Glass or ceramic tiles work well, giving a sleek look.
Next, measure the area around your mirror to determine how many tiles you need. It’s best if you sketch a plan to visualize the design.
Prepare your surface by cleaning it thoroughly. Use a strong adhesive to attach the tiles. Start from one corner and work systematically. You can mix different shapes and sizes to create a unique pattern.
Once the tiles are in place, apply grout between them for a finished look. Don’t forget to wipe off excess grout with a damp sponge. Enjoy your new mosaic masterpiece!
Creative LED Lighting
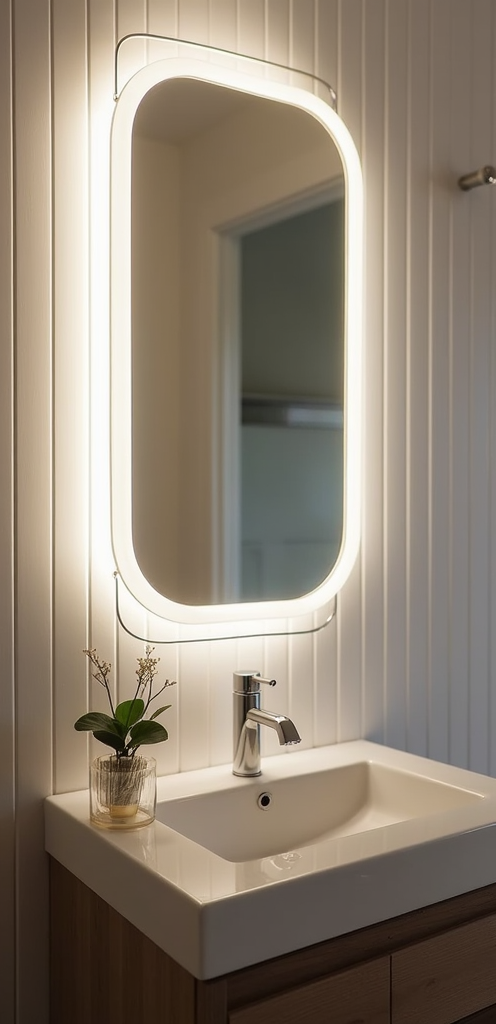
Creative LED lighting can instantly transform your bathroom mirror into a fascinating focal point. Start by selecting LED strips or rings that fit your style. You can place them around the edges of the mirror for a sleek, modern look.
If you prefer, mount them behind the mirror to create a soft, ambient glow. Use adhesive tape or clips to secure the lights in place.
Next, connect the LED lights to a power source; some options run on batteries, while others plug into an outlet.
For added convenience, consider installing a dimmer switch to adjust the brightness.
Finally, choose colors that complement your bathroom decor. This simple DIY project elevates the mirror’s visual appeal and improves lighting for daily routines.
Etched Design Techniques
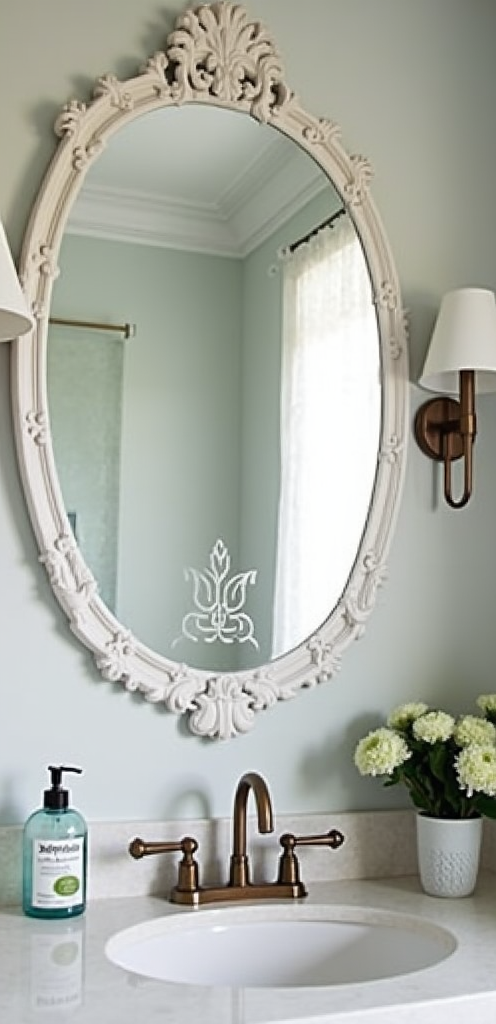
Incorporating etched designs can amplify the aesthetic appeal of your bathroom mirror just as effectively as creative lighting. Etching is a technique that leaves a permanent design on glass. You can use an etching cream, which safely etches the mirror’s surface.
To begin, select a design template or create one yourself. Clean the mirror thoroughly to guarantee good adhesion.
Apply a stencil to the area you want to etch, securing it with painter’s tape. Follow the instructions on the etching cream, usually applying it with a brush for 10-15 minutes. Rinse off the cream with water and then remove the stencil carefully.
Finally, wipe the mirror to remove any residue. Enjoy your unique and elegant bathroom mirror!