When you decide to create DIY Christmas cards, you're not just crafting; you're sharing your unique touch with friends and family. Start by choosing the right materials that will set the tone for your cards, and think about a layout that communicates your festive spirit. You'll realize that each step, from designing to adding personal touches, is an opportunity to express your creativity. As you approach the finishing touches, you might wonder how to enhance your designs further. What techniques could make your cards truly stand out this holiday season?
Choosing Your Materials
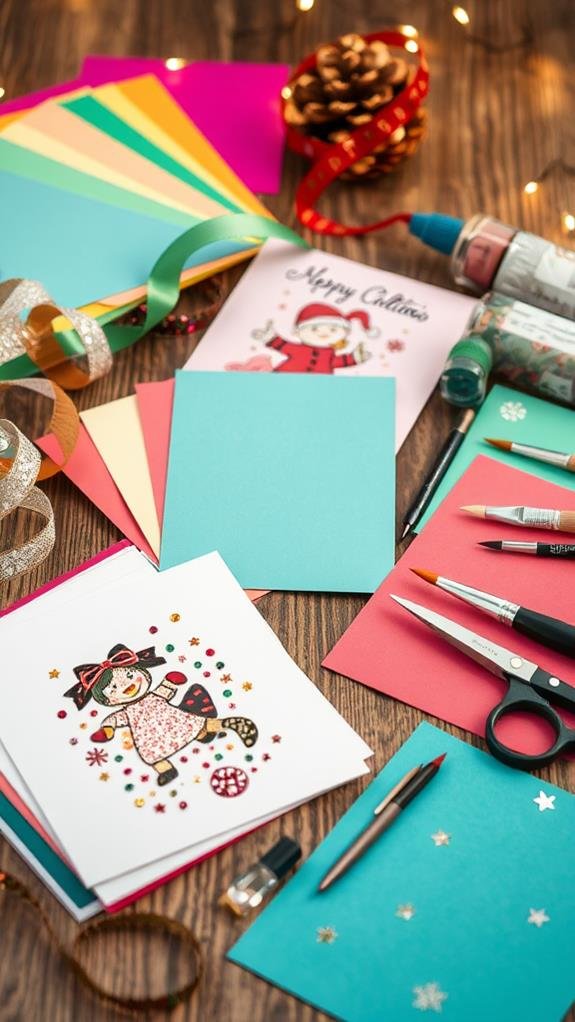
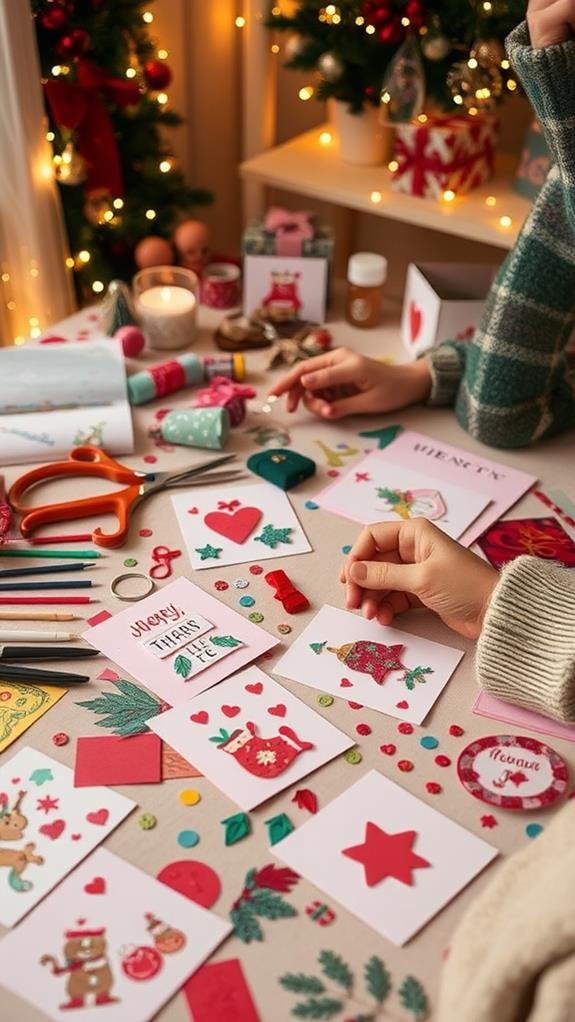
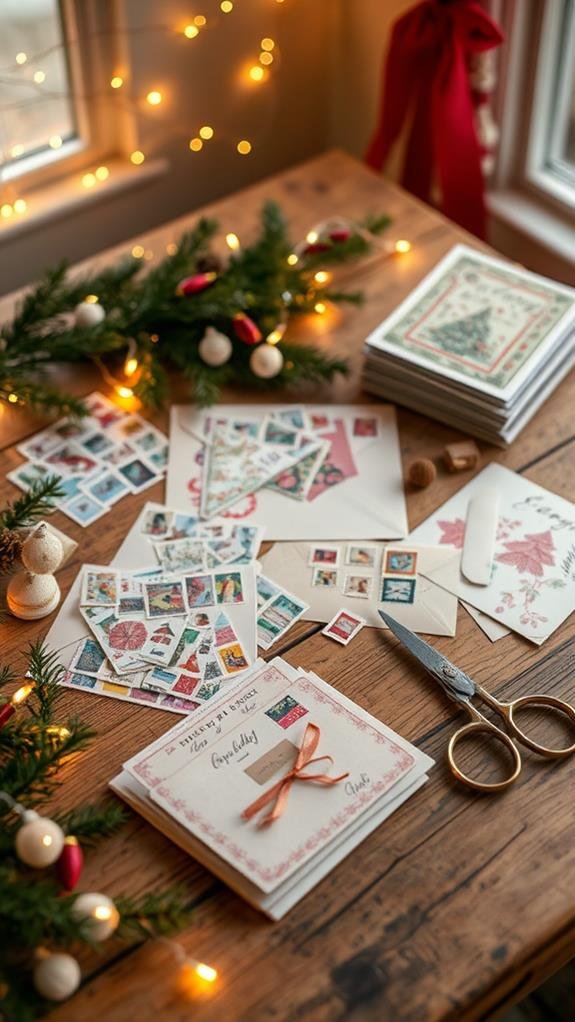
When you kick off your DIY Christmas card project, choosing the right materials sets the tone for your creativity.
Start with sturdy cardstock in festive colors like red, green, or gold—the foundation of your card. You'll need scissors to cut your paper and glue or double-sided tape to guarantee everything sticks together beautifully.
Don't forget decorative elements, like ribbons, stickers, or stamps, which can add a personal touch to your design. If you want to get extra creative, consider using markers or colored pencils for drawing.
Make certain to gather everything you might need beforehand; that way, you won't lose your flow while crafting.
With the right materials on hand, you're ready to release your imagination and make something special!
Designing the Card Layout
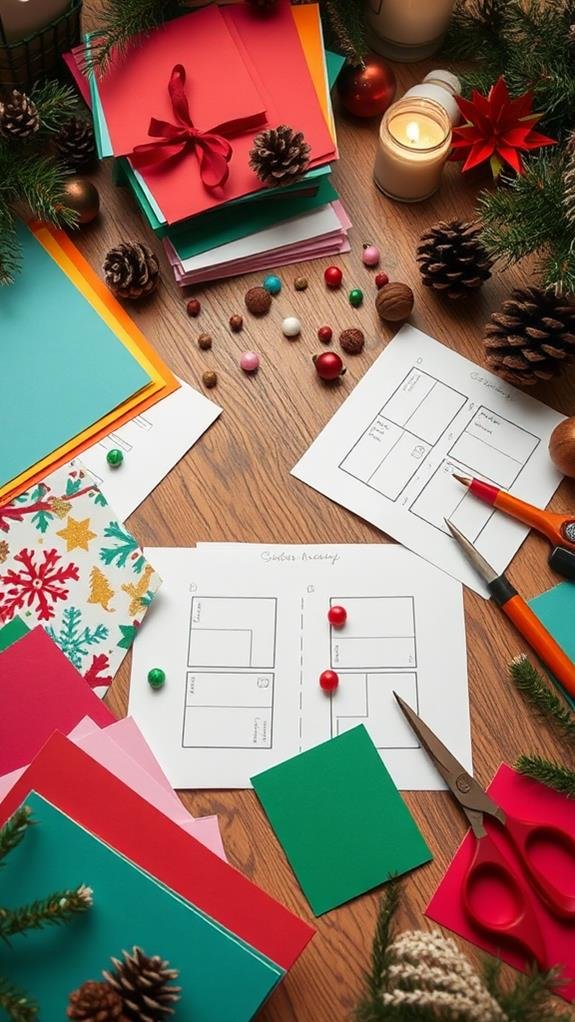
How will you layout your Christmas card to create an eye-catching design? First, think about the size and fold of your card; a simple half-fold or a fun pop-up design can work wonders.
Next, divide your card into sections for text and images. You could use the top half for a festive greeting and reserve the bottom for a personal message.
Make sure that there's enough white space around your elements—it keeps the design from feeling cluttered and helps the important parts stand out.
Don't forget to reflect on the color scheme; using contrasting colors can draw attention.
Finally, keep your layout balanced. Visual appeal will shine through when you pay attention to symmetry and alignment.
Happy designing!
Creating Unique Artwork
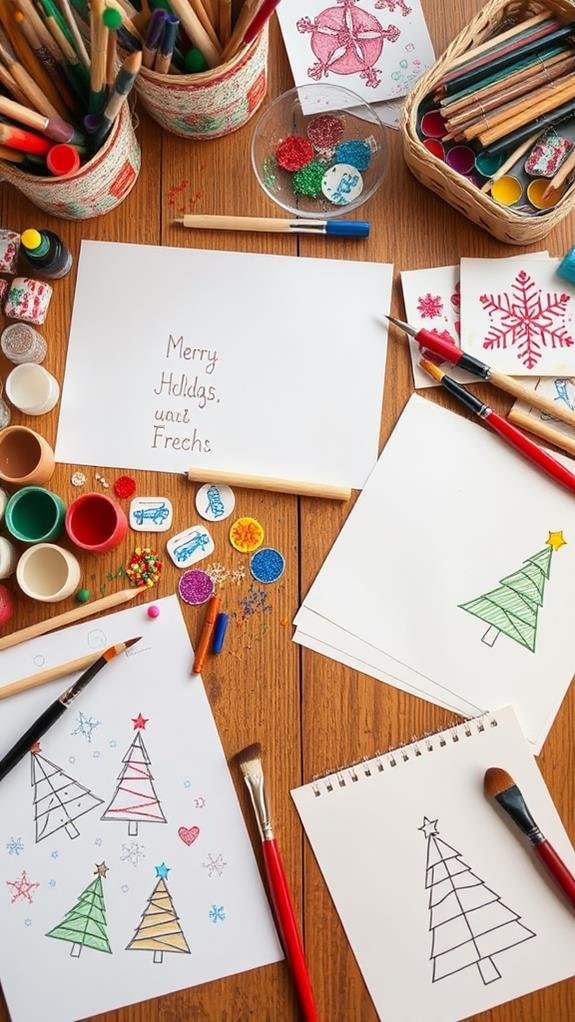
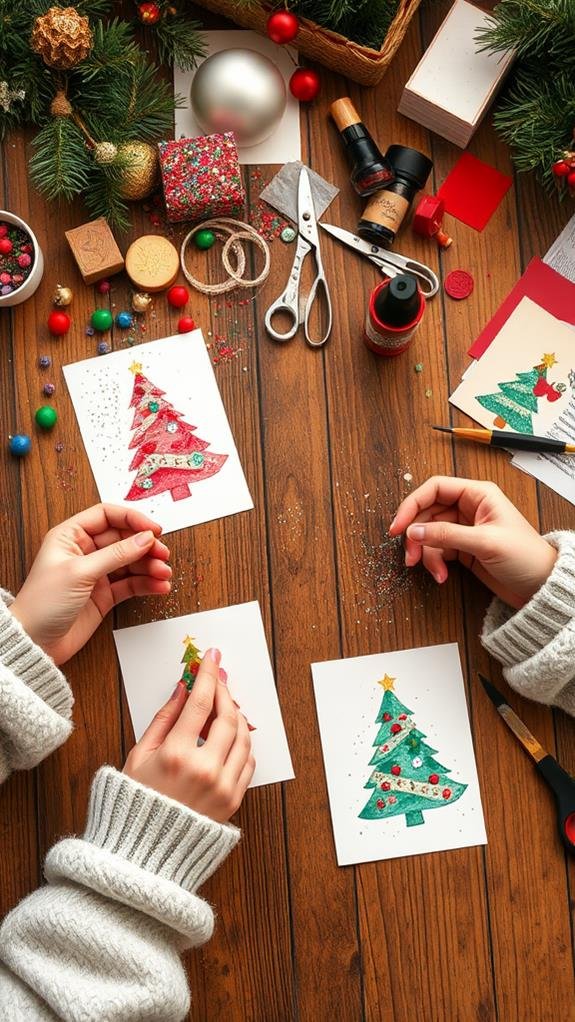
Now that your layout is set, it's time to focus on creating unique artwork that will make your Christmas card truly stand out. Start by choosing a theme that reflects your personality or holiday spirit, like winter landscapes, festive animals, or elegant ornaments.
Next, gather your art supplies, such as colored pencils, watercolors, or markers. Feel free to experiment with different techniques—try blending colors or using stencils for added flair. You could also print out images to incorporate into your design.
Adding Personal Touches
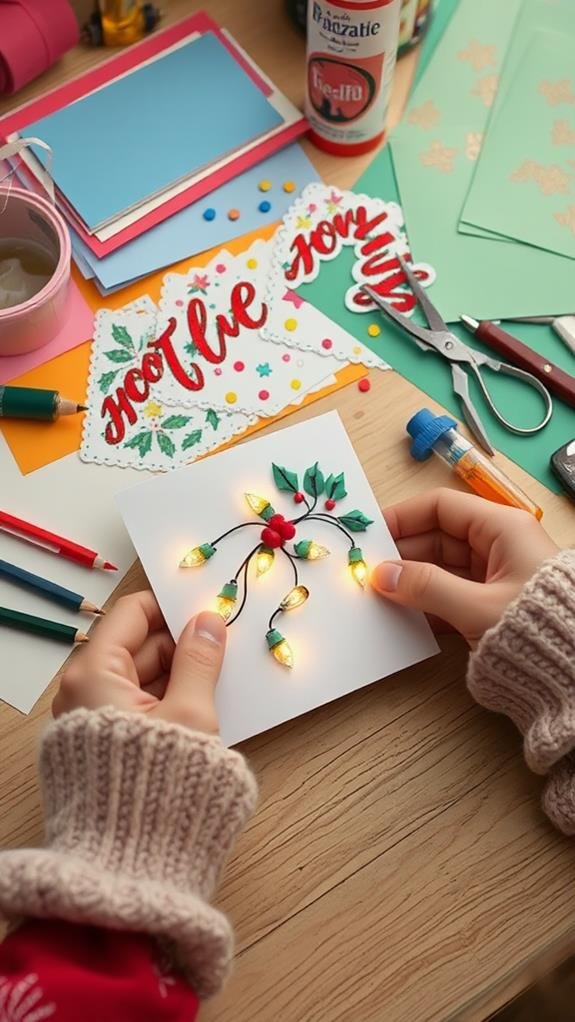
Adding personal touches to your Christmas cards can elevate them from simple greetings to cherished keepsakes. Consider incorporating your favorite colors or holiday designs that represent your personality.
You can use themed stickers, washi tape, or even stamps to make each card unique. Handwritten names or initials on the envelopes add that special touch, showing you took the time to personalize them.
Think about including small, meaningful items, like pressed flowers or glitter accents, to create texture and interest. You might even choose to draw little doodles or illustrations that remind you of the recipient.
These thoughtful details show you care and make your cards memorable—not just for the recipients, but for you, too, as you create them!
Writing Heartfelt Messages
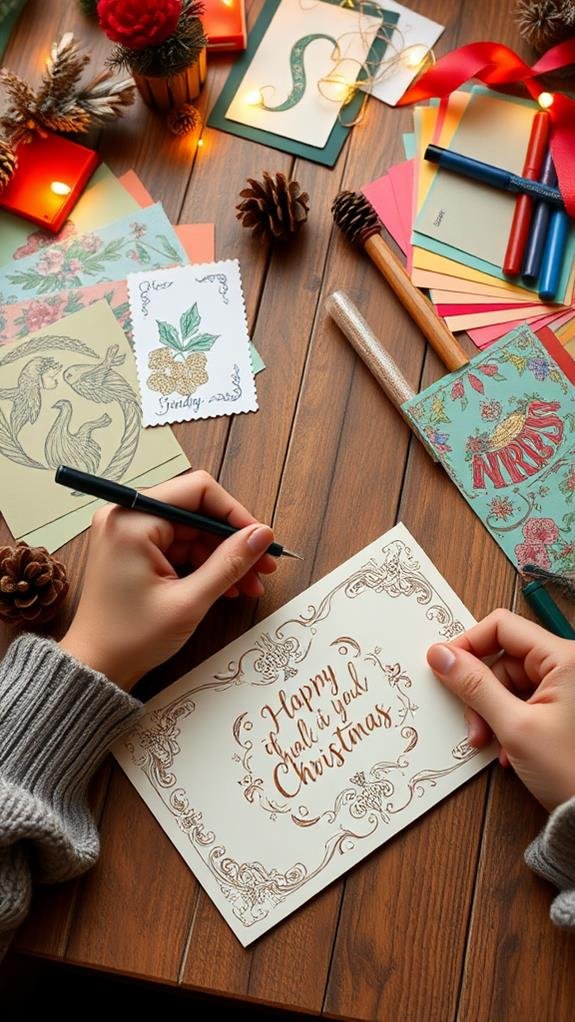
When crafting heartfelt messages for your Christmas cards, think about the unique bond you share with each recipient. Begin with a warm greeting, like "Dear [Name]," to make it personal.
Reflect on shared memories, your appreciation for them, or hopes for the upcoming year. This builds a connection that shows you care. For example, you might say, "I cherish our holiday traditions together" or "Your support means the world to me."
Keep your tone cheerful and genuine. Don't forget to add a personal touch, like a favorite holiday quote or saying that resonates with your relationship.
Assembling Your Cards
Assembling your Christmas cards can be a joyful experience, bringing together your personal touch and creativity.
Start by gathering all your materials, including cards, envelopes, and any decorations like stickers or ribbons. Lay everything out neatly on a flat surface, so you can easily access what you need.
It's helpful to decide on the layout for each card before you start adhering pieces together; this way, you can visualize how your design will come together.
Once you're happy with the arrangement, use glue or double-sided tape to secure elements in place.
Using Different Techniques
Exploring various techniques can improve your DIY Christmas cards from simple to stunning. You might want to try watercolors for a dreamy effect, or perhaps use markers for bold, vibrant designs.
Stamping is another fantastic option, allowing you to create intricate patterns easily. If you're feeling adventurous, consider incorporating textures, like ribbons or fabric scraps, to add depth to your cards.
You could also experiment with layering different papers, making your designs pop. Don't forget about adding personal touches, such as handwritten messages or drawings—these can make your cards truly special.
Whichever techniques you choose, let your creativity shine. Remember, the goal is to enjoy the process and share your unique spirit with family and friends this holiday season!
Finding Envelopes and Stamps
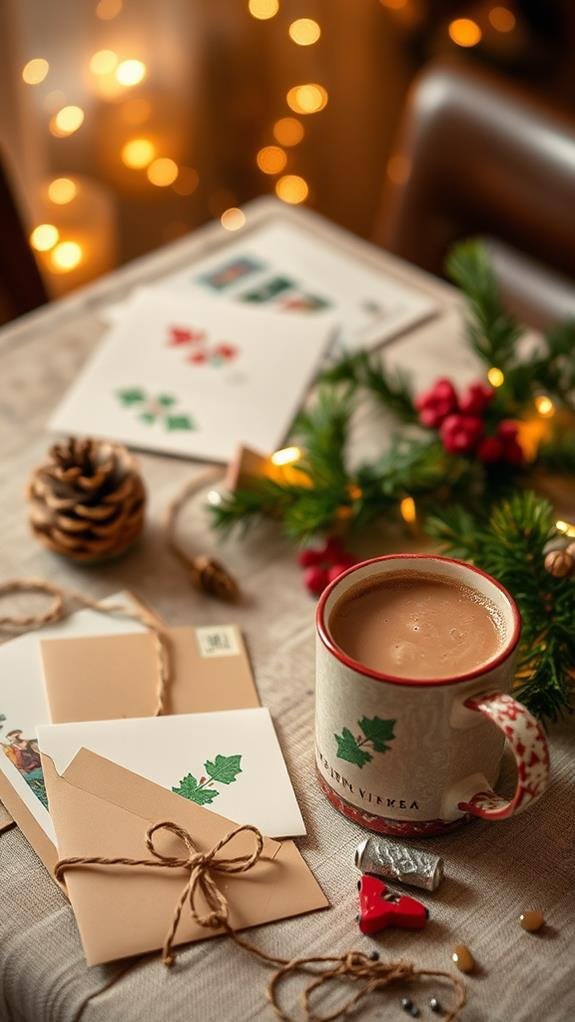
Finding the right envelopes and stamps for your DIY Christmas cards is essential to guarantee your creations are presented beautifully.
Start by choosing envelopes that fit your cards snugly, ensuring they won't bend or damage while being mailed. You can find a variety of colors and designs, so pick ones that match the festive theme of your cards.
Next, think about stamps. When selecting stamps, choose ones that not only cover the postage but also add a charming touch to your envelopes. You've got options: from classic holiday stamps to personalized ones.
Make sure to check the postage rates, especially for larger cards. With the right envelopes and stamps, your thoughtful cards will make a lovely impression!
Sending Your Cards Out
Once you've crafted your beautiful DIY Christmas cards, it's time to prepare them for mailing.
First, carefully place each card in its envelope, making certain it fits snugly without bending. Next, seal the envelopes securely; you don't want any surprises for your recipients!
Now, write the addresses neatly on the front of each envelope. Don't forget to include your return address in the top-left corner, just in case.
When you're ready, head to the post office to buy stamps and weigh your cards to verify they meet mailing requirements.
Conclusion
Now that you've designed and created your DIY Christmas cards, it's time to share your festive spirit! Remember to use beautiful envelopes and stamps to make your cards extra special when mailing them out. Your friends and family will appreciate the love and effort you put into each card, bringing joy to their holiday season. So don't hold back—spread cheer and let your creativity shine through your heartfelt greetings this Christmas!