In terms of creating your DIY Christmas village display, you'll find that the process can be both simple and rewarding. You'll start by gathering essential materials and selecting a theme that resonates with your style. As you design your layout, consider how to position your buildings for maximum visual appeal. But what if you want to enhance your display even further? The next steps will reveal how to craft unique structures, incorporate charming details, and use lighting to create an enchanting atmosphere that captures the essence of the season.
Gathering Your Materials
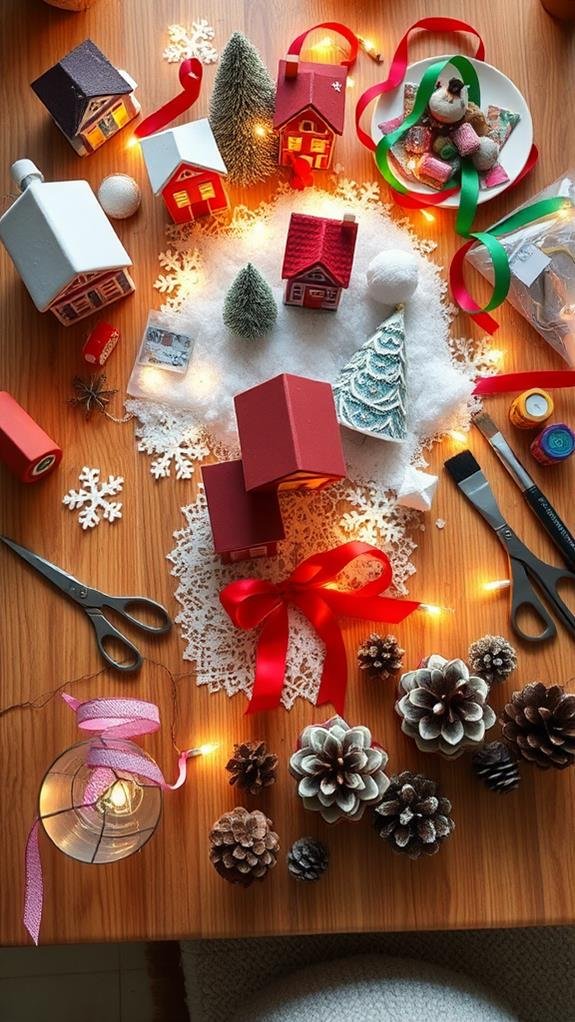
To create a stunning DIY Christmas village display, you'll need to gather a variety of materials. Start with a sturdy base, like a piece of wood or a large cardboard box, which will hold everything together.
Next, collect miniature houses, trees, and figurines—these can be bought or even made from items around your home. Don't forget about lights! Small LED lights add a magical touch by illuminating your village.
You might also want some cotton for snow effects or decorative materials like ribbons and ornaments for added charm.
Choosing a Theme

Choosing a theme for your Christmas village display sets the stage for a cohesive and enchanting scene. Think about what makes you feel the holiday spirit. Do you want a classic winter wonderland, a quaint Victorian village, or perhaps a festive North Pole setting?
Each theme brings its own unique charm. Once you've decided on a theme, consider the colors and decorations that match it, like snowy whites and icy blues for a winter scene or rich reds and greens for a traditional vibe. This helps create a harmonious look.
Designing Your Layout
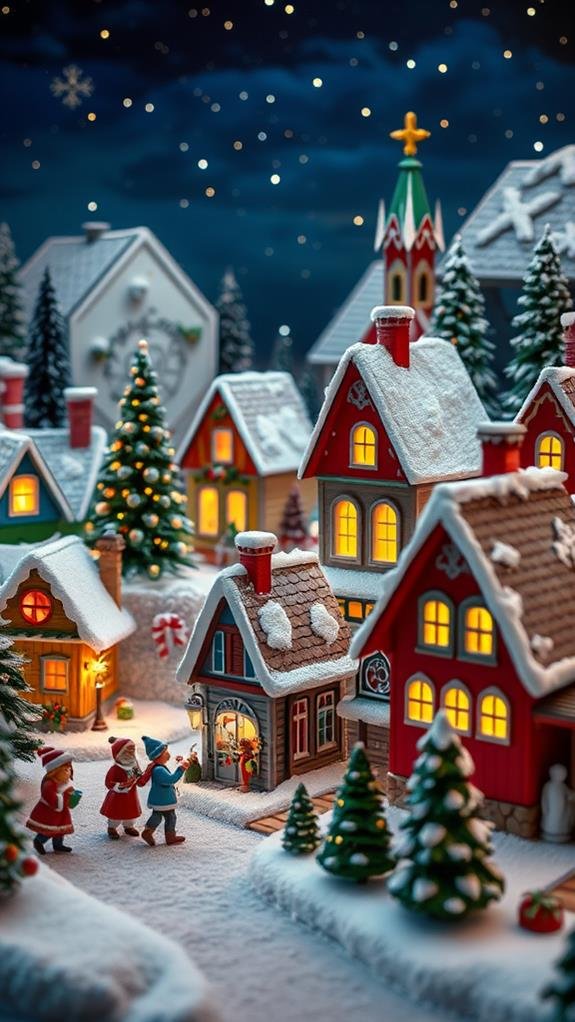
Once you've settled on a theme, the next step is designing your layout to bring it to life. Start by choosing a base, like a table or a sturdy shelf, and imagine your village's flow.
You can place larger buildings at the back to create depth, while smaller structures should be positioned in the front. Consider adding pathways using foam or painted cardboard to guide viewers' eyes through your scene.
You might also think about elevation—stacking cardboard or using wood blocks can add height and interest. Don't forget to leave space for any accessories, like trees, vehicles, or people.
Once you're happy, take a step back and adjust anything that doesn't quite fit before securing your village in place.
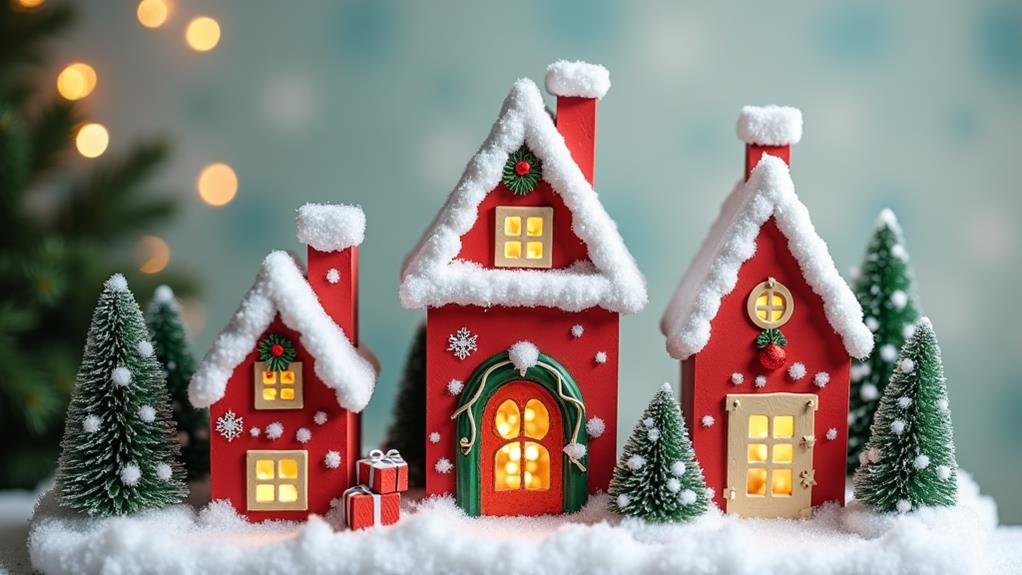
Crafting Unique Buildings
Creating unique buildings is a fun and rewarding part of your Christmas village display. Start by gathering materials like cardboard, craft sticks, and paint.
Think about what kind of buildings you want. A cozy cottage or a bustling bakery could be perfect additions. Sketch your designs first, then cut out the shapes you need.
Assemble the pieces using glue, making sure everything holds together well. Don't forget to add windows and doors for that extra charm!
Once the structure is complete, paint it in festive colors. You can even add small details, like a roof made of snow or colorful lights.
Adding Characters and Details
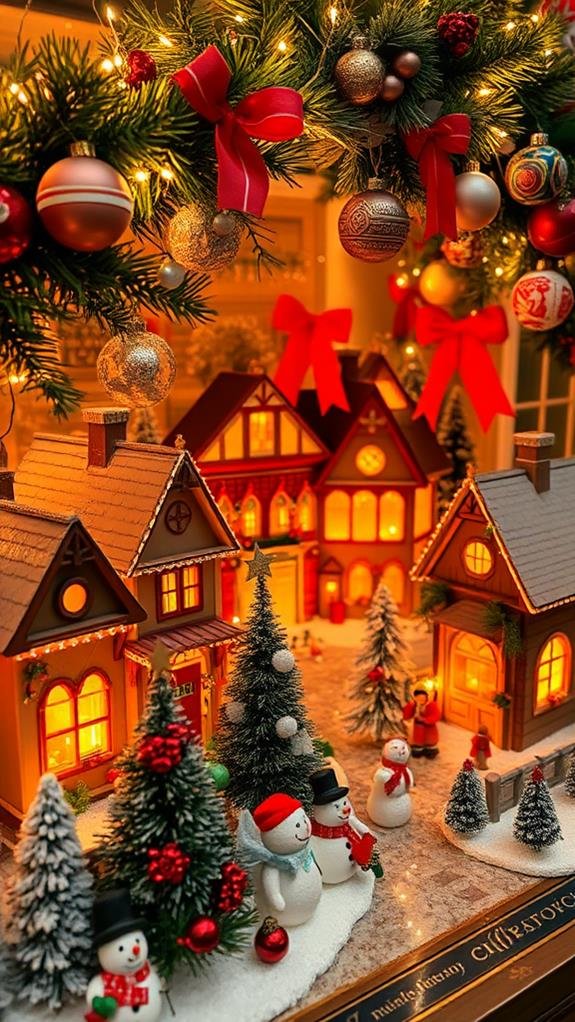
Bringing your Christmas village to life requires adding delightful characters and intricate details that capture the spirit of the season.
Start by choosing figurines that reflect typical village life, like carolers, snowmen, or children playing. Place them throughout your scene to create a lively atmosphere. Don't forget pets; a dog or cat can add charm.
Incorporate small items, such as benches, trees, or gifts, to improve the setting. These little additions help build a story within your display.
You might even consider seasonal props, like sleds or holiday decorations, to make your village feel more immersive. By carefully selecting and positioning these elements, you'll create an enchanting and festive village that draws in your friends and family.
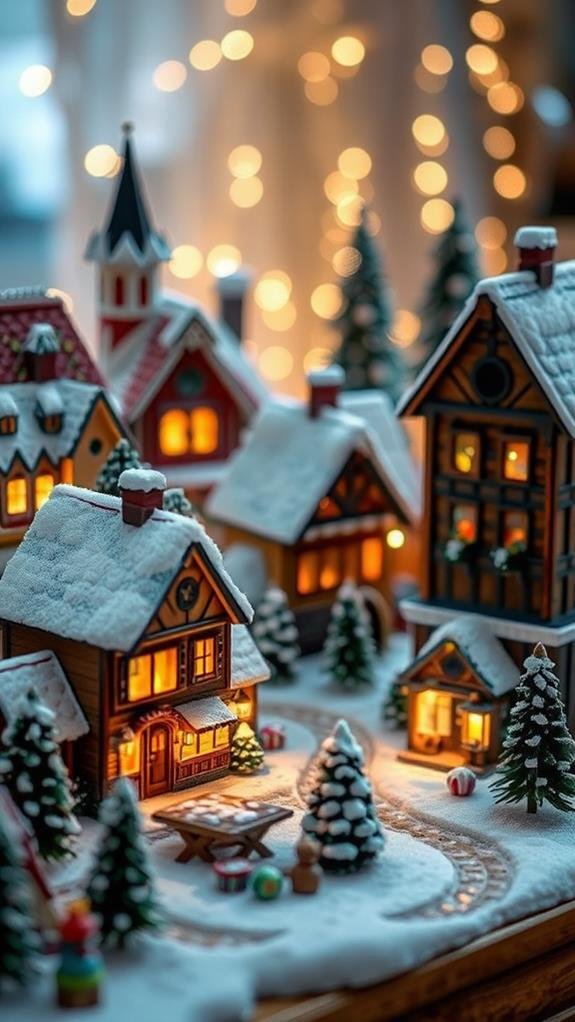
Incorporating Lighting
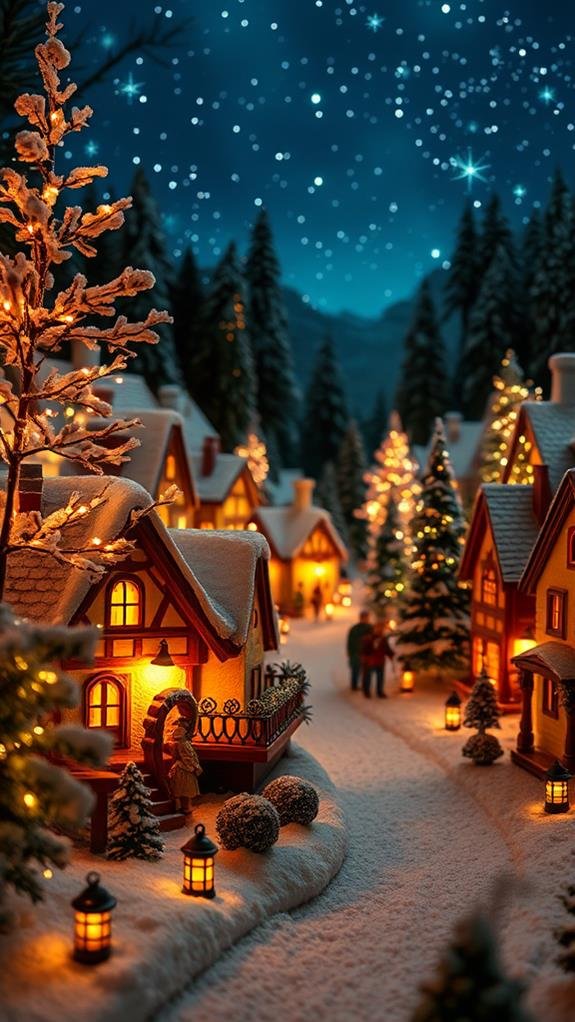
Adding characters and details sets the stage for your Christmas village, but incorporating lighting improves it to a whole new level.
To create a magical glow, start with string lights. You can weave them through the village or place them along pathways, making the scene come alive at night.
Consider using miniature LED lights for buildings—these often come with built-in settings for gentle flickering that mimics a cozy fire.
Don't forget to spotlight areas with characters, like a tree or a skating pond, to draw attention to special scenes. You can even use battery-operated candles for a warm ambiance.
The right lighting not only illuminates your village but also invites warmth and joy into your holiday display.
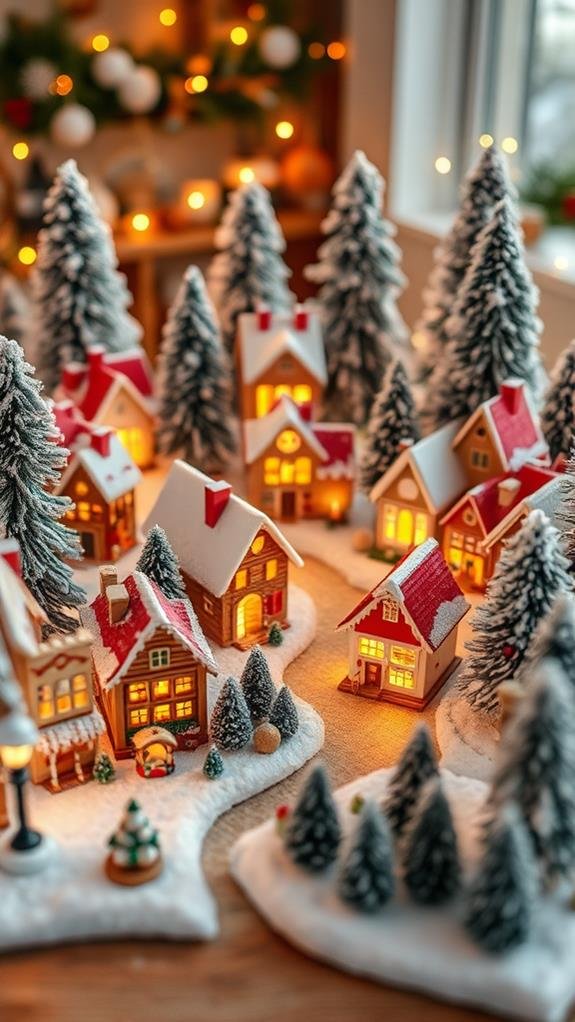
Creating the Landscape

The charm of your Christmas village truly shines through its carefully crafted landscape. Start by choosing a base, like a large piece of plywood or a sturdy table covered in a festive cloth.
Next, bring your village to life with natural elements. You can use cotton for snow, gravel for pathways, and sprigs from pine trees for realistic greenery.
Consider adding hills or small elevations using cardboard or styrofoam. Arrange your buildings and figures in a way that creates a sense of depth—place taller items in the back and shorter ones in the front.
Don't forget to incorporate a few fun features, like a tiny pond or a sledding hill, to elevate the festive feel. Your landscape sets the scene, so let it sparkle!
Final Touches and Tips
Once you've crafted the perfect landscape for your Christmas village, it's time to improve it with final touches and practical tips that can raise your display.
Start by adding miniature figures, like townsfolk or animals, to create a lively scene.
Consider using cotton or faux snow to mimic winter's blanket, placing it sparingly for a realistic effect. You could also incorporate lights, wrapping them around trees or inside buildings to add warmth.
Don't forget to vary the height of your structures for depth; taller pieces can be placed at the back, while smaller buildings should be in front.
Conclusion
Now that you've gathered your materials and crafted your enchanting Christmas village, it's time to enjoy the magic it brings to your home. Remember, every detail you added—from the cozy cottages to the twinkling lights—makes your display unique and special. Don't hesitate to update it each year with new elements or themes, keeping the excitement alive. So, gather your family, admire your creation, and let the spirit of the holidays fill your space with joy!